WordPress sends emails using the PHP Mail function by default. However, it is preferable to utilise SMTP because it is more efficient at transmitting messages and may also be used to send emails from a third-party mailing service. We’ll learn how to configure remote SMTP on WordPress in this tutorial.
Steps to configure remote SMTP on WordPress
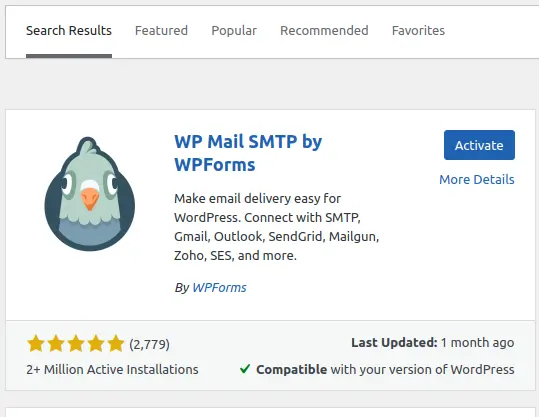
First, we must install the WP Mail SMTP plugin. You may install the plugin by navigating to Plugins and searching for WP Mail SMTP in the search box. The plugin can be seen in the image below.
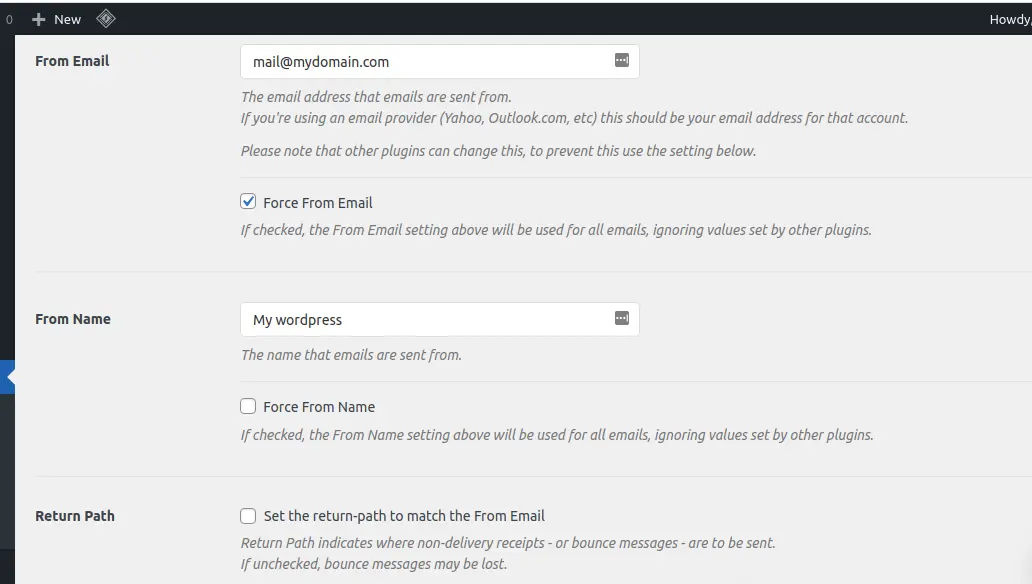
 When the plugin is installed and activated, a new menu called WP Mail SMTP will appear. To set up WordPress to function with SMTP, you’ll need to go there. You’ll find various setup choices on this page. To begin, type in your email address and a from name, which will be used as the sender name. If you don’t provide the plugin a name, it will default to WordPress.
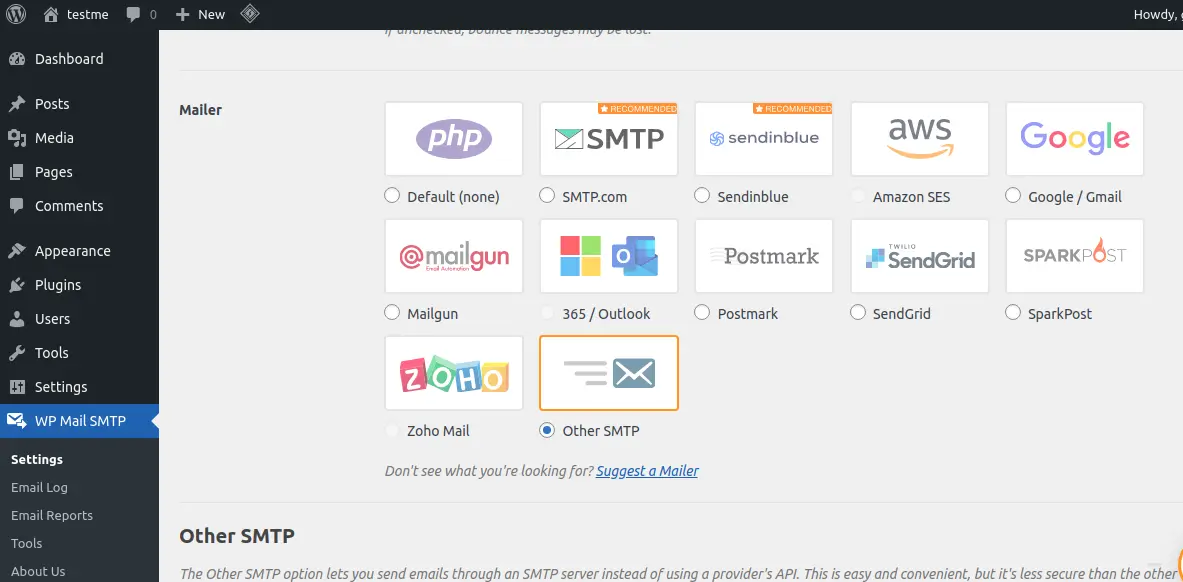
 Next, you need to choose the mailer. Go ahead and click on the ‘Other SMTP’ option to select it
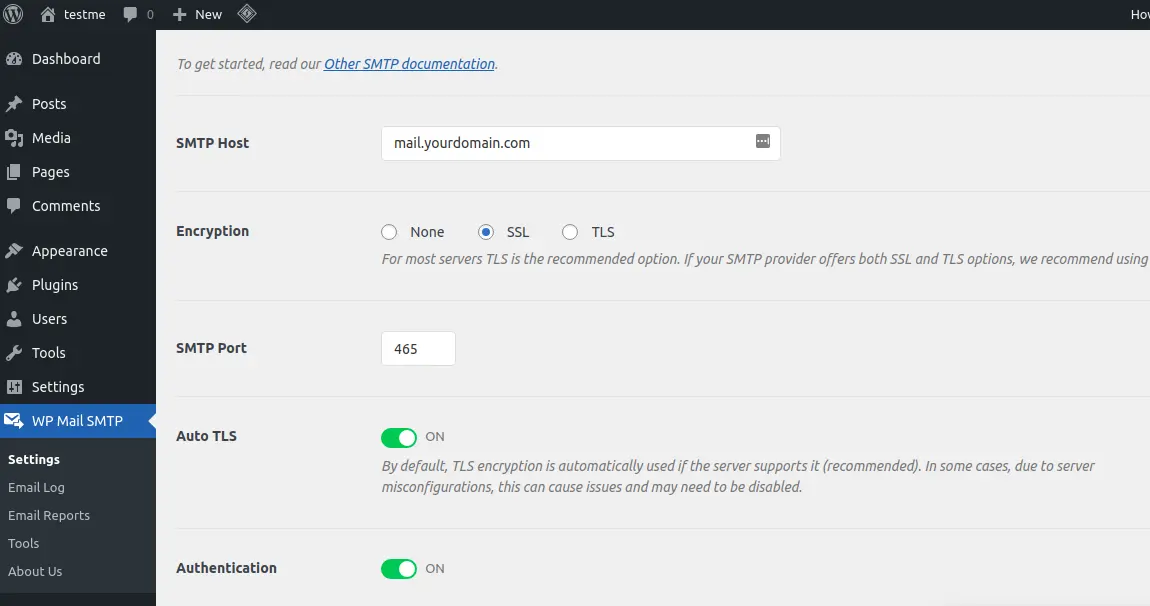
The next step is to configure SMTP options. You must first enter your SMTP host and port. Your hosting company can give you with this information. 465 is the SMTP port to use.
The next step is to select encryption. SSL and TLS are supported by the majority of WordPress hosting companies. When TLS is an option, we recommend utilising it.
Add your SMTP username and password after that. Your SMTP username is usually the same as your email address. Once you’ve finished entering the information, click the Save Settings button to save your changes.
Your password is stored as plain text, which is not safe. However, the plugin also provides you with an option to make it more secure. To do that, you will need to add some code to your wp-config.php file. First, you will need to connect to your website using an FTP client or File Manager app in cPanel. Once connected, you will find your wp-config.php file in the root folder of your website.
Locate the line that says ‘That’s all, stop editing! Happy blogging’ and add the following code just before it.
define( 'WPMS_ON', true );

define( 'WPMS_SMTP_PASS', 'your_password' );
Don’t forget to replace ‘your_password’ with your actual SMTP password. After that, save and upload your wp-config.php file back to the server.
You can now visit your WordPress admin area and go to the Settings » WP Mail SMTP page. Scroll down to the SMTP options section and you will see the password field is now disabled.
So these are step-by-step illustrations to configure remote SMTP on WordPress.